Master macOS Screenshots
macOS has and always had a great screenshot feature built-in. Many use it on a daily basis, but there are some tips and tricks that might improve your workflow even more.
Taking a screenshot
Taking a screenshot can be done in a couple of different ways. The most common way is to go to you Applications folder and open the Screenshot.app in your Utilities folder:
This will open a small overlay on the bottom of your screen with a couple of options:

- The first option on the left allows you to take a screenshot of your entire screen. You can either press the
Capturebutton on the right to include all currently connected displays or you can click anywhere on the screen to only capture that particular display. - The second option allows you to take a screenshot of a specific window. Just highlight any window you want to capture and click on it to save it as a screenshot.
- If you ever wanted to take a screenshot of just a specific area on your screen, the third option is for you. Just drag the selection frame to the area and resize it appropriately. Then click
Capture.
The next two options are for not taking a screenshot, but for recording your screen:
- The fourth option allows you to record your entire screen. Either click the
Recordbutton on the right and select the display to record when asked, or simply click anywhere on the screen to start recording. - Similarly to the third option, the fifth one allows you to record a specific area on your screen. It basically works the same way as the third option.
When recording your screen, a new stop icon (square in a circle) will appear in your menu bar. Click it to stop the recording.
Additional options
By default your screenshots will be saved to your Desktop. But you can change that by selecting the Options button on the left of the overlay:
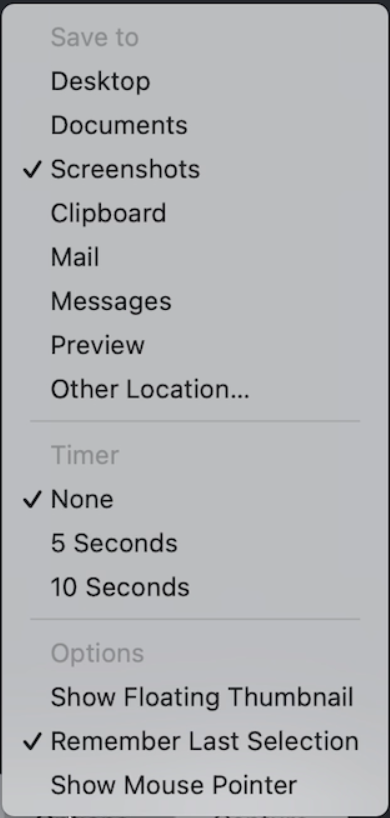
Here you can change the location of where your screenshots will be saved to. There are a couple of default options to choose from but you can also define a custom location by selecting Other Location....
You can also set a countdown timer before taking a screenshot. The available options are None, 5 Seconds and 10 Seconds.
Additionally you can set whether you want to show a floating thumbnail (similar to the one you see when taking a screenshot on iOS) or not, and if a selected area should be remembered for the next time you take a screenshot.
Finally you can choose to show or hide the mouse pointer in your screenshots.
Keyboard shortcuts
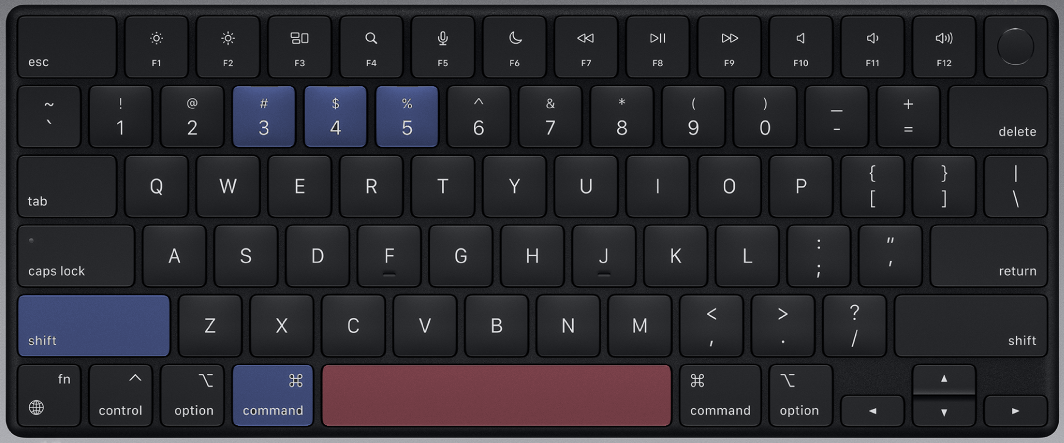
While all of the above is pretty neat already, macOS provides a couple of keyboard shortcuts out of the box to make taking screenshots even faster:
⌘ + ⇧ + 3- Take a screenshot of your entire screen (see option 1 above). This however will always include all currently connected displays.⌘ + ⇧ + 4- Take a screenshot of a specific area on your screen (see option 3 above).⌘ + ⇧ + 4thenSpace- Take a screenshot of a specific window (see option 2 above).⌘ + ⇧ + 5- Open theScreenshot.appoverlay.
If you also press the
Controlkey while taking a screenshot, the screenshot will be copied to your clipboard instead of being saved to your disk.
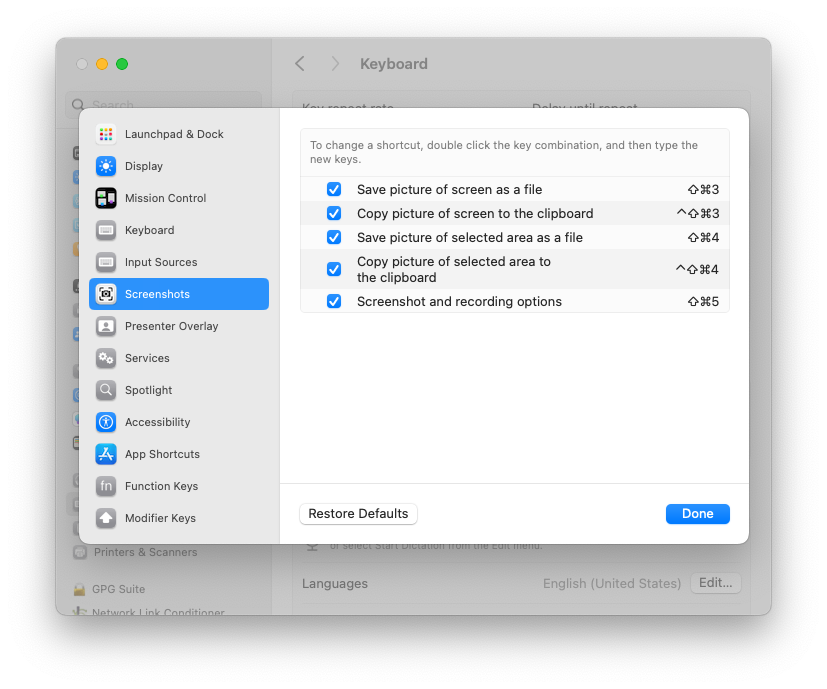
Those shortcuts can also be customized in your System Settings under Keyboard > Keyboard Shortcuts > Screenshots:
Enthusiast options
Disable Window Shadow
As you may have noticed, by default, screenshots of windows will include a drop shadow. This can be disabled by opening the Terminal.app and entering the following command:
defaults write com.apple.screencapture disable-shadow -bool true
killall SystemUIServer
To reenable the drop shadow, simply enter the following command:
defaults write com.apple.screencapture disable-shadow -bool false
killall SystemUIServer
Screenshot File Format
Screenshots are saved as .png files by default. But you can change that by entering the following command in your Terminal.app:
defaults write com.apple.screencapture type -string "jpg"
Supported file types are:
bmp,gif,jpg,jpeg,png&tiff.
Conclusion
To sum things up, the screenshot feature in macOS is pretty powerful and has a lot of options to customize it to your needs. Of course there also are a lot of third party apps that provide even more options, but I think the built-in feature is already pretty good.
